
Easy way to folding fish (palm leaves and paper)
Palm Leaf Fishes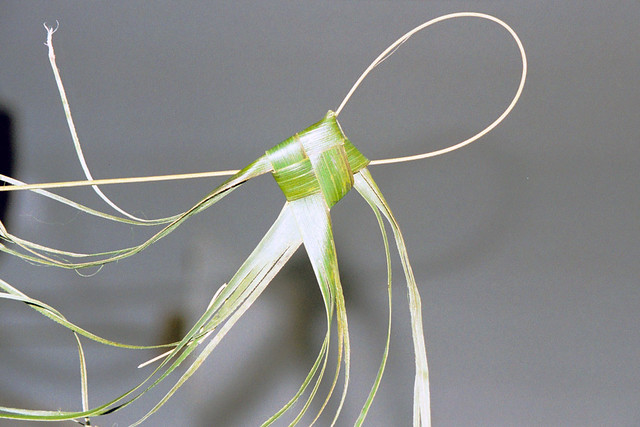
Palm frond art
While riding in a boat tour around the cultural center, Mary learned how to make this fish from a palm frond.
Things You Need:1. Piece of palm leaf
2. Scissors
3. Ruler
4. Small knife
Tutorial
1. Take a piece of palm leaf.
2. Use the small knife or your thumb fingernail and insert it at the base of the stalk.
3. Run the knife or fingernail down the base of the stalk, all the way to the tail end of the palm.
4. Pull off the stalk and save it for later use.
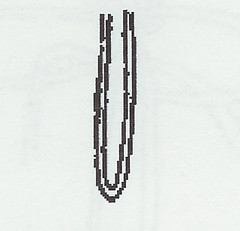
5. Take the two pieces, (still intact at the widest end) measure one inch from the widest end and cut.
6. Take the two cut pieces and even the up.
7. Take the ruler and measure 14 inches from the cut end.
8. Take the scissors and cut at the 14 inch mark.
9. You now have two even pieces of leaf to make your pinwheel.
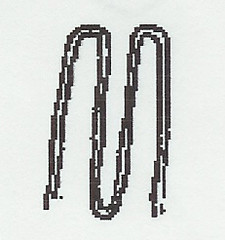
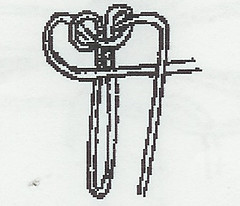
10. Take the two even pieces of palm and make a cross.
11. Use the left thumb and first finger to hold the pieces together in the center.
12. Bend the top end of the vertical piece towards the center, and hold it with your thumb in place.
13. Repeat the same process with the bottom vertical piece.
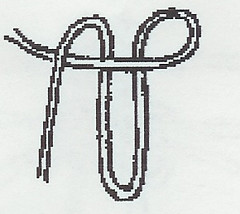
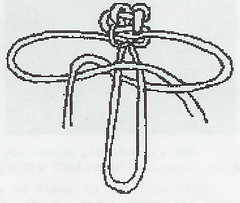
14. Hold the pieces of palm with your left fingers and use your right thumb and first finger to bend and insert the right horizontal end into the top loop.
15. Repeat the same process with the left piece and bottom loop.
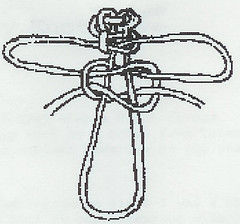
16. Use the right thumb, slowly release and slip the end of the bottom loop into the right loop
17. Repeat the same process for the left side.
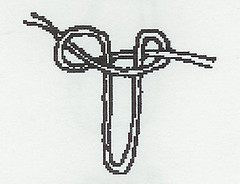
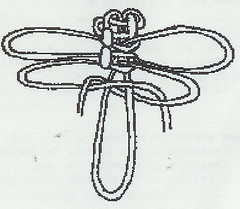
18. Use all your fingers to pull and hold the four ends, while forming the pinwheel.
19. Folding the pinwheel wing at the right bottom parallel to the diagonal.

20. Using the the pinwheel wing at the right top, folding over the pinwell wing that parallel to the diagonal and threaded down the diagonal.
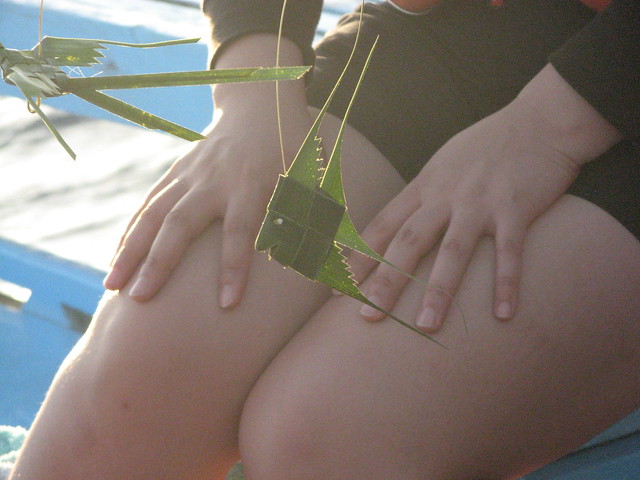
21. Using scissor to cut fins for the fish
To make paper fish you can make with the same way.
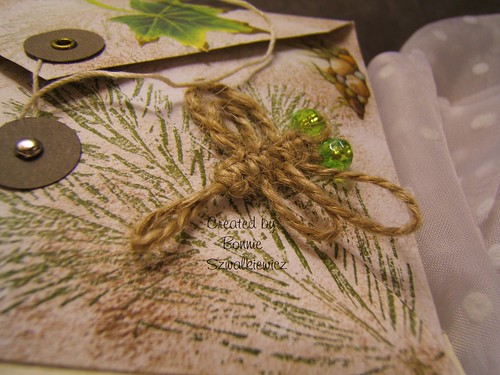
Palm Fish
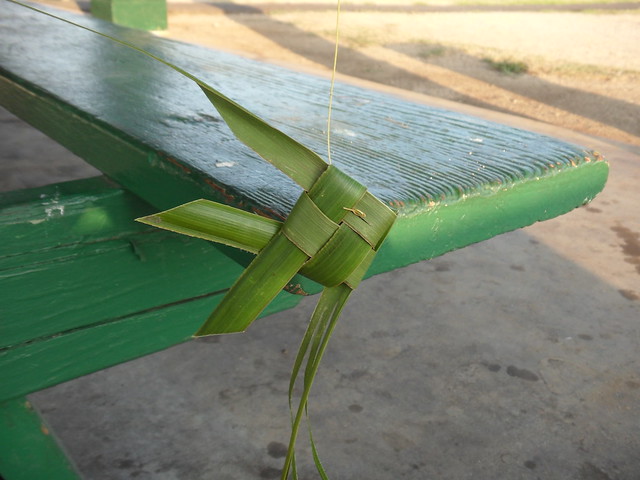
Photo: http://flick.com
 Palm leaf Hopper tutorial